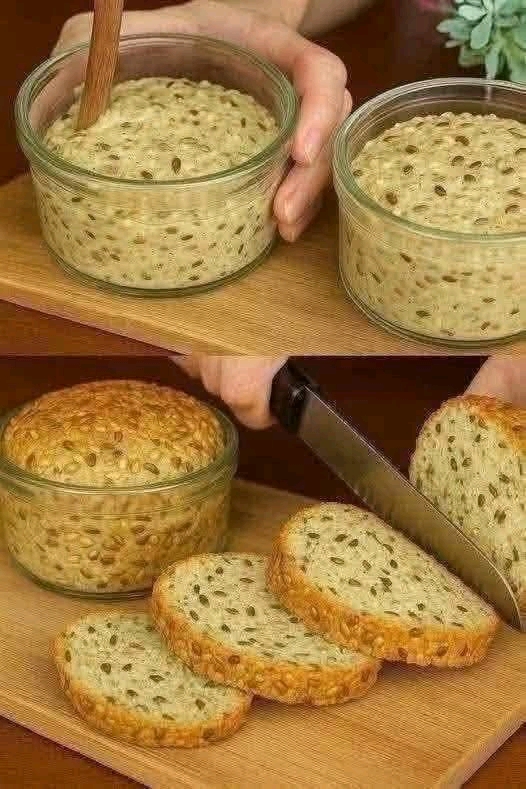
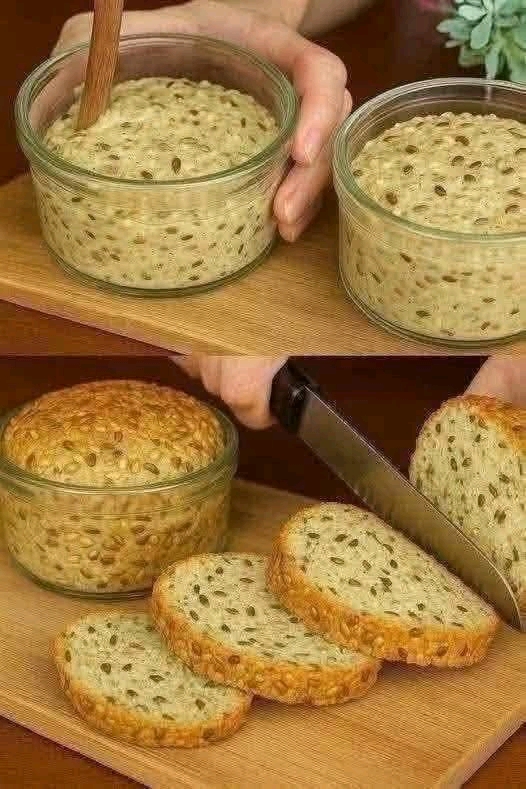
Cooking Tips and Variations For the best results with this seeded no-knead bread, consider a few key tips. Always use oven-safe glass bowls, such as Pyrex or borosilicate glass, to prevent shattering. Avoid placing cold glass bowls directly into a hot oven or hot bowls onto a cold surface, as extreme temperature changes can cause them to break. Generously greasing and flouring your glass bowls is paramount; this ensures your beautiful loaves release easily without sticking. The high hydration of no-knead doughs is what creates their characteristic open, airy crumb, so resist the urge to add more flour during the initial mixing, even if it seems very sticky. The long fermentation time is not just for convenience; it’s essential for developing the complex flavors and the unique gluten structure that eliminates the need for kneading. If your kitchen is particularly cold, you can place the covered dough in a turned-off oven with just the light on to create a slightly warmer environment for fermentation. During the second proofing in the bowls, don’t let the dough over-proof, or it might collapse in the oven. Look for a visible puff, but not a massive expansion. For an even crispier crust, you can place a shallow pan of water on the bottom rack of your oven during baking to create steam. To enhance the flavor of your seeds, gently toast them in a dry skillet for a few minutes before adding them to the dough, being careful not to burn them. Another trick for a beautiful crust is to brush the tops of the loaves with a little water or milk just before baking, or even sprinkle with a few extra seeds for a rustic finish. This recipe is wonderfully adaptable to your preferences. You can experiment with different seed variations; try a blend of poppy seeds, black sesame seeds, and chia seeds for a different texture and flavor profile. For a heartier loaf, substitute up to 1 cup of the all-purpose flour with whole wheat flour or rye flour, just be aware that this might require a slightly longer fermentation time and result in a denser crumb. To add savory notes, incorporate dried herbs like rosemary, thyme, or oregano into the dough, or even a handful of grated Parmesan cheese. If you’re feeling adventurous, a tablespoon of honey or maple syrup can be added to the water for a touch of sweetness and to help with browning. You can also explore different flours; bread flour will yield a chewier crumb, while a higher proportion of whole grains will result in a more rustic loaf. Just remember that whole grain flours absorb more water, so you might need to adjust the hydration slightly. For a garlic bread variation, add a teaspoon of garlic powder to the dry ingredients, or for a more intense flavor, knead in roasted garlic cloves after the initial fermentation. The beauty of no-knead bread lies in its flexibility, allowing you to tailor it to your taste. Storage and Reheating To keep your Seeded No-Knead Bread fresh, store it at room temperature in an airtight container or a bread bag. A linen bread bag also works wonderfully, allowing the crust to remain crispier for longer. Avoid refrigerating bread, as this can actually make it stale faster. Properly stored, your homemade bread will stay fresh for 3-4 days. For longer storage, you can freeze the bread. Once completely cooled, slice the loaf and place the slices in a
Introduction Imagine the aroma of freshly baked bread wafting through your home – that warm, comforting scent that instantly makes everything feel cozier. Now, imagine achieving that without the arm-aching work of kneading, and with a presentation so charming it’ll make you smile. Welcome to the world of Seeded No-Knead Bread, baked right in a … Read more